Computer Desk Update Ideas | How To Furniture Flip An Old Computer Desk
This computer desk flip – was taking up space in my home. So I decided to turn my old computer desk into a functional work area.
I knew I needed a work desk so I decided to flip it and make it beautiful and functional.
This post may contain affiliate links. For my full disclosure please see my privacy policy.
What is furniture flipping?
It is when you take a piece of furniture (old, preassembled, new, thrifted, etc..) and you change it up. You can also sell furniture flips and make a profit. Or you can keep it in your home and show off your amazing skills.
For example:
- You can flip chairs by painting and upholstering them.
- Turn a book shelf into a side table
- Turn a side table into a coffee bar cart
- Turn old desks into new desk
The possibilities are endless because their is so many different types of furnitre and so many ideas that you can turn them into.
Tired of always waiting on your partner to do your DIY home projects? Learn how to create and finish all your home renovations, projects and DIYs inside DIY Dream Space – the power tool school for beginners.
Material Used For Computer Desk
| Material Used | Tools Used |
|---|---|
| Paint | Drill Gun |
Contact Paper | Sander |
| Spray Paint | Paint Roller / Brush |
How To Furniture Flip An Old Computer Desk
1. Clean Your Furniture
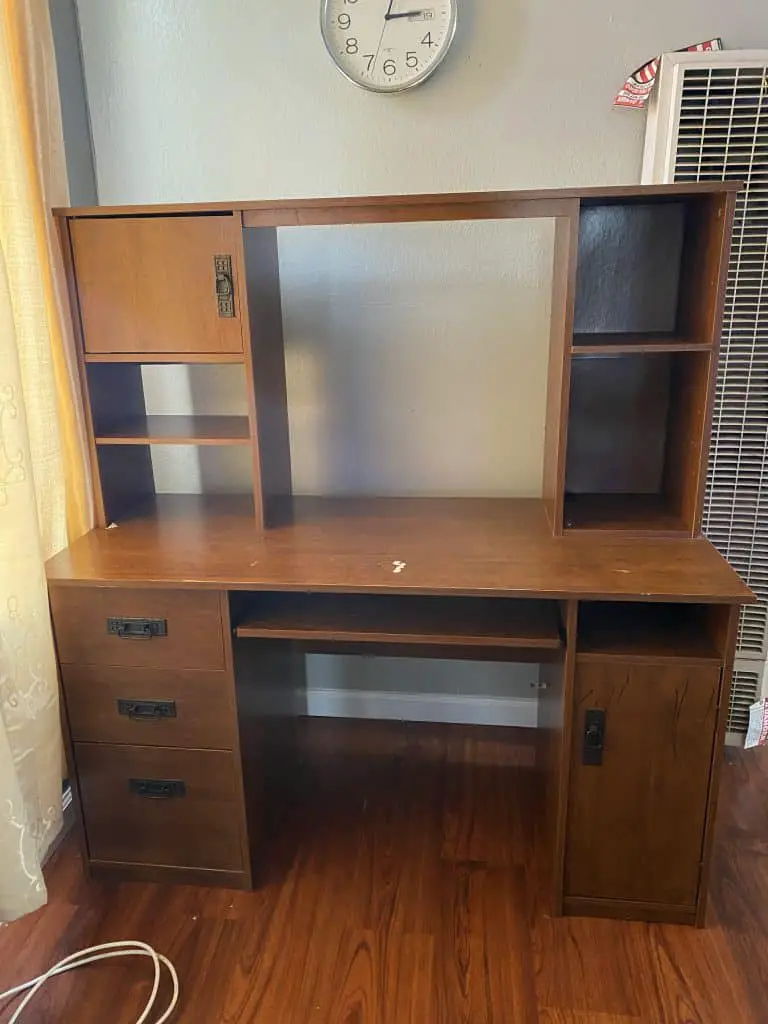
I took the computer desk out of my sons play room and cleaned it up before taking it outside to start working on it.
2. Do A Mood Board
When you are choosing your piece of furniture to flip you should also keep in mind what you want it to be at the end.
By choosing what you want the finished product to look like – you are giving yourself permission to go after that look and style.
You’re also allowing your ideas to flow and finish the furniture flip when you know what you are working towards.
This was the mood board I created for this particular furniture flip
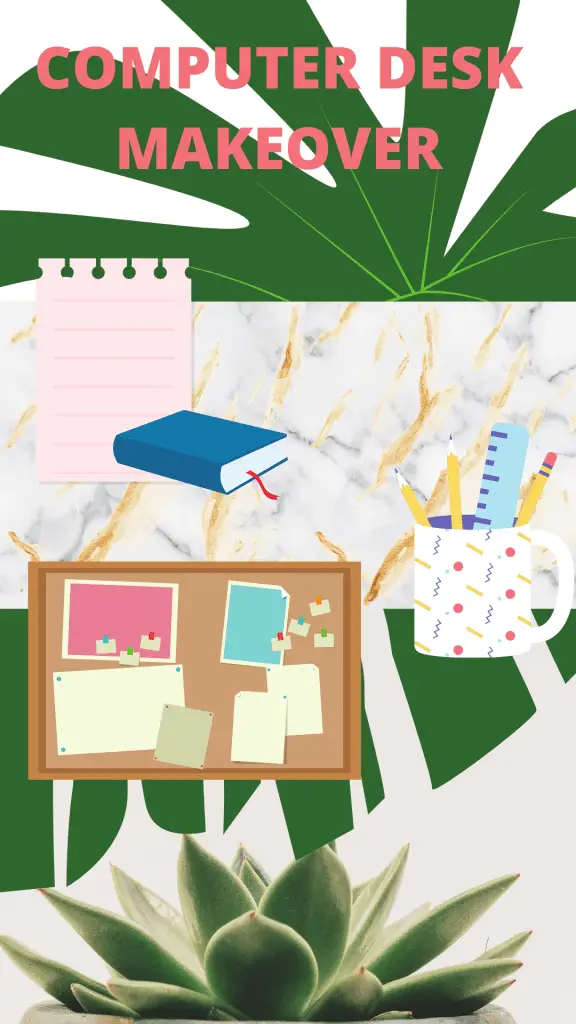
From my mood board I realized that I really wanted a green color for the base, I also wanted some marble like features and yellow and blueish tones mixed in.
This gave me the base and the motivation to do my desk and really it felt like I was looking at the finished product before even starting.
3. Remove the hardware (if it has any)
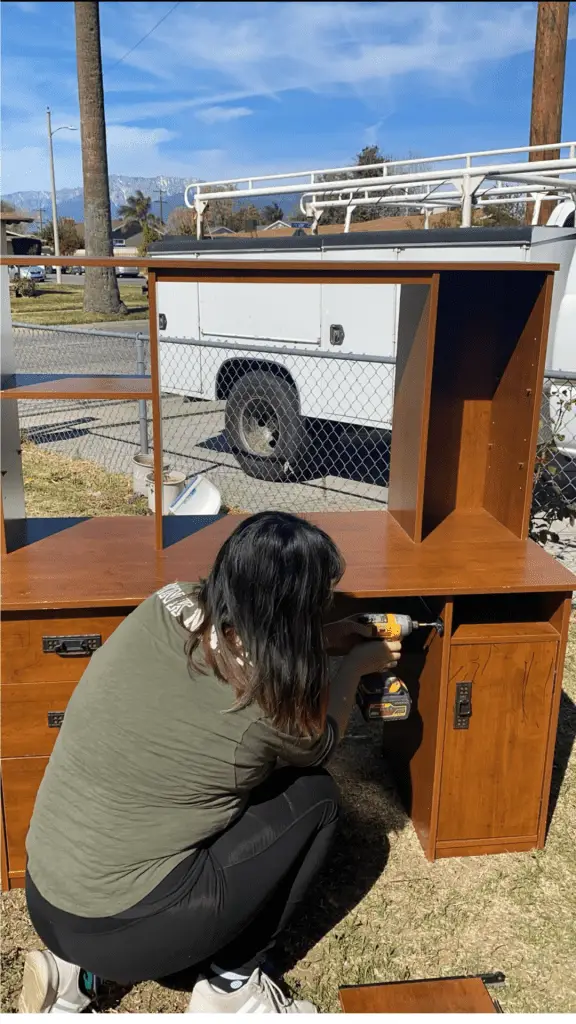
This can mean so many things depending on the item you are flipping.
For example if you are doing a side table, you can change out the legs.
If its a dresser the handles can be changed. For my example
4. Sand Down Your Piece
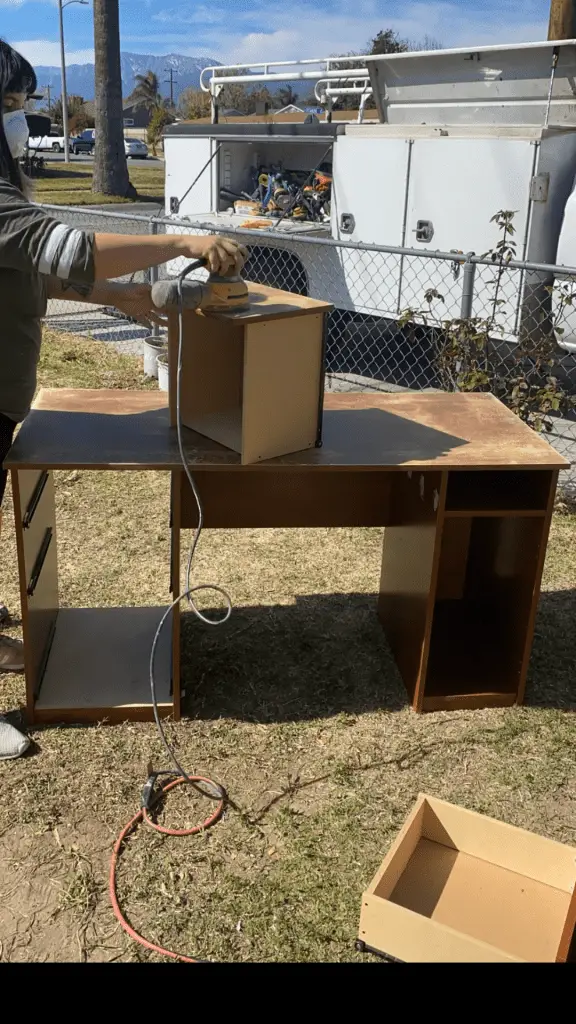
Sanding is perfect if you are going to paint or stain your piece. If it has weird stains, marker paint or anything you want to remove.
Need to learn how to use a sander – go to this post here.
5. Paint it
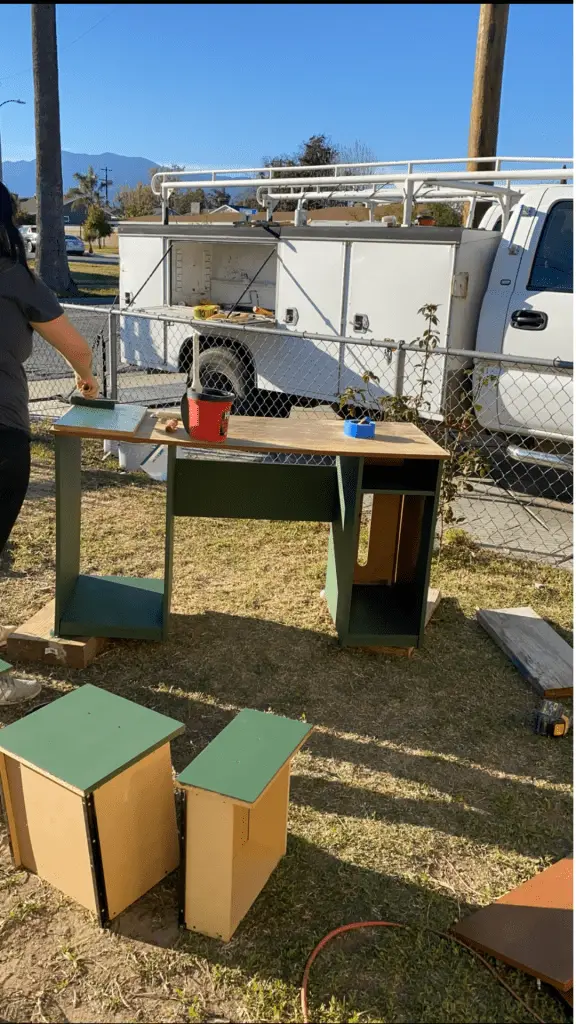
Just a simple paint job can totally transform a piece you were starting to dislike and give it new life.
Did you know you can get paint samples (peel and stick type) from here and test colors easily.
6. Assembling It Back Together
I wish I would have taken some pictures but all I did was add the hardware back, and add additional screws to make it sturdy again. Then I moved it back in once it was all dry.
7. Adding Contact Paper
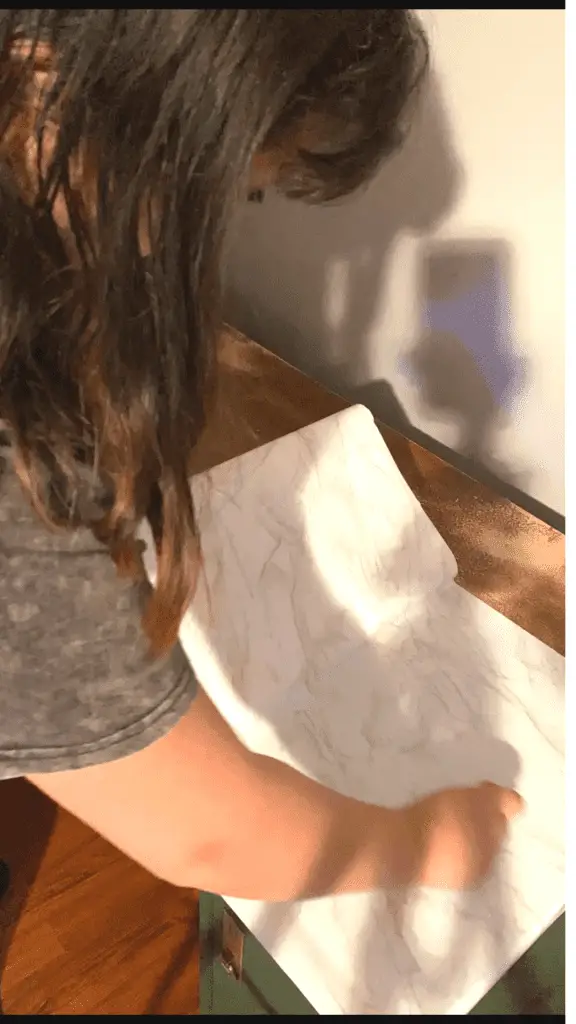
Depending on what you are flipping. Adding contact paper can make a huge difference. This is the one that I used for my desk.
Make sure you get a plastic piece to push out any air bubbles. I loved this contact paper because it had that marble texture I was going for as well as some yellowish undertones that were in my mood board. #winwin
The finished look
Now that you’ve done the dirty work and have made the piece your favorite thing in the world.
It’s time to put the hardware back on, make sure everything is just how you want it.
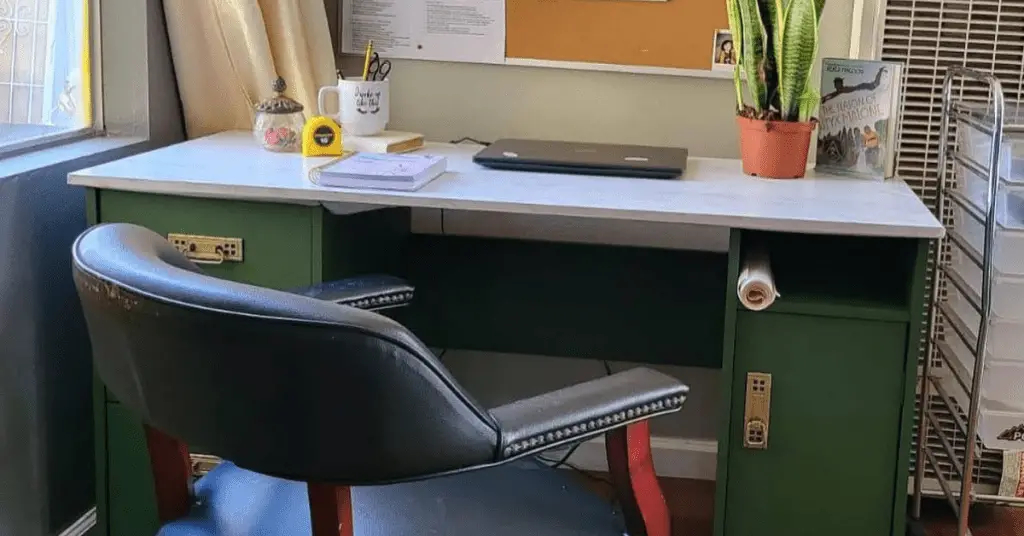
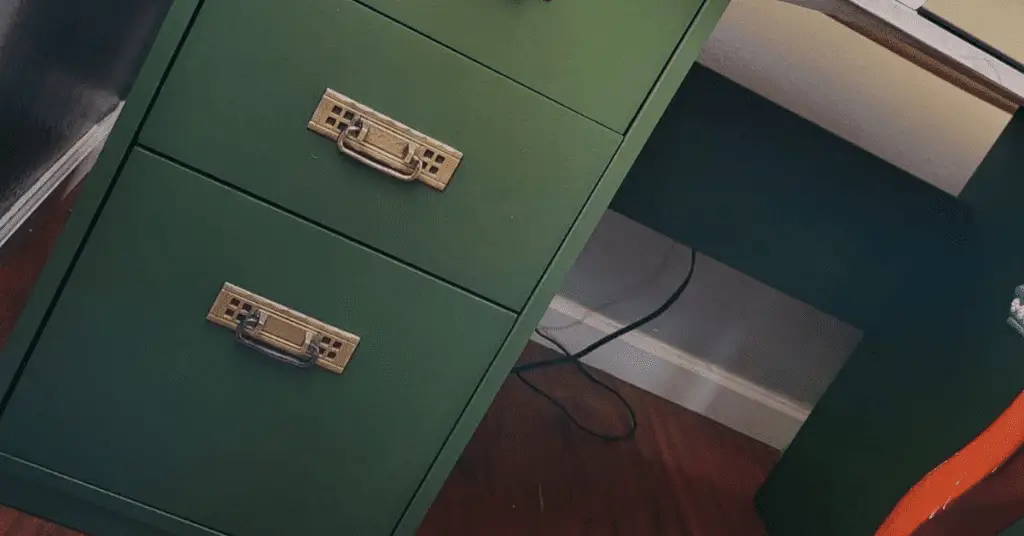
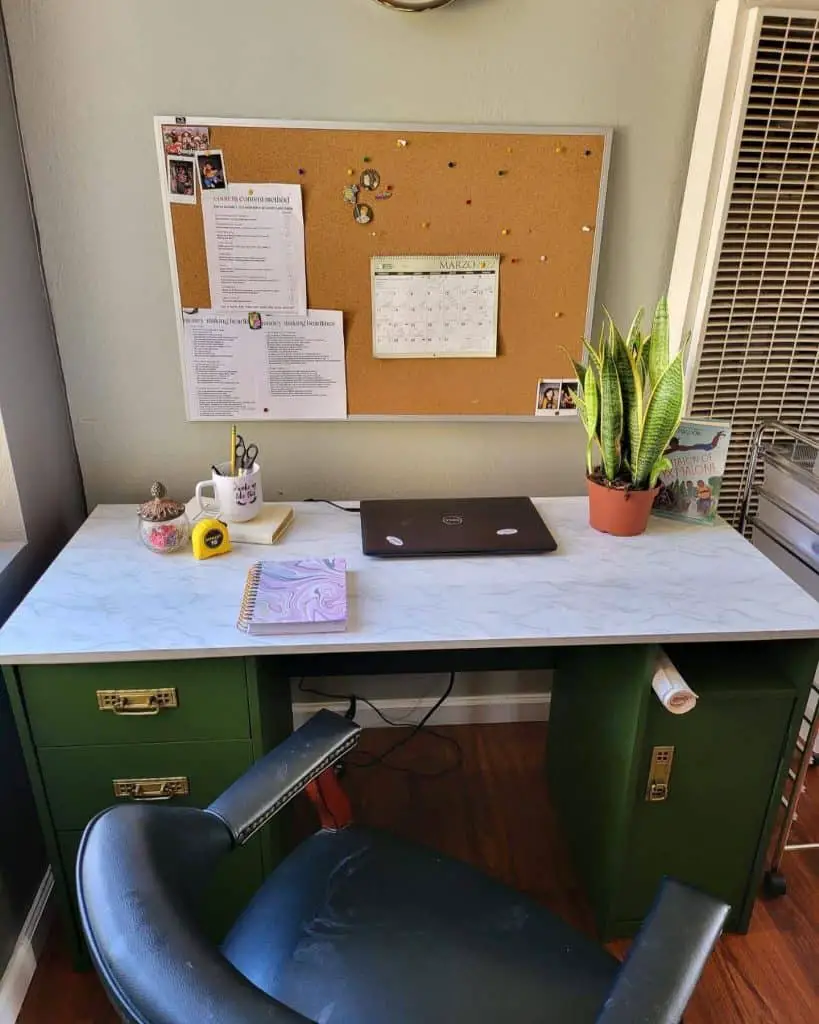
There is so much to learn and do when you’re starting a furniture flip.
You can do it for profit, to uplevel a piece in your home or even to gift to someone.
Not matter the reason – doing this for your first time is exciting especially if you are just starting down the road of DIY home projects.
If this post was helpful – save to Pinterest or share with friends.
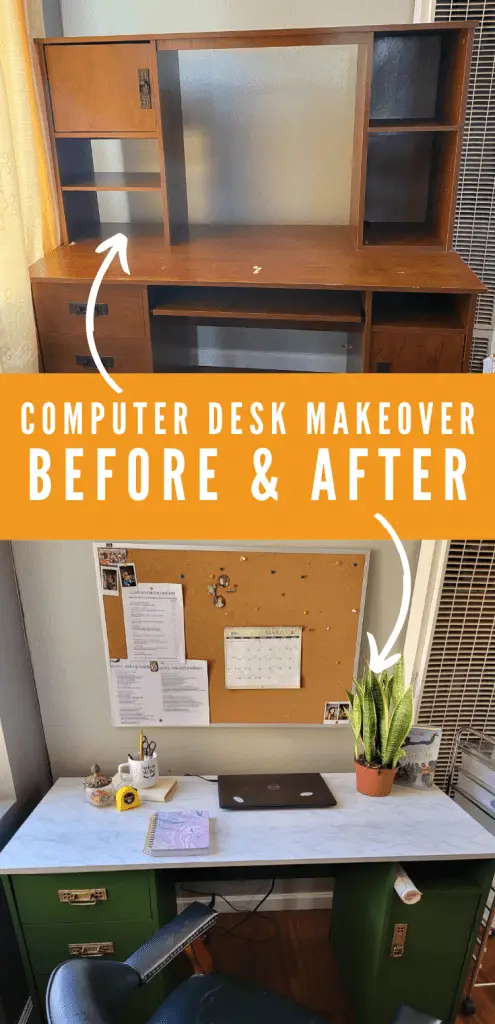
How To Furniture Flip For DIY Beginners
You may also like:
How to use a circular saw for beginners
