How Do You Use A Belt Sander Step By Step
Do you want to know how to use your belt sander or maybe you are thinking of purchasing one and you want to make sure you know how to use it before you buy it or maybe you want to know if a belt sander will work for your project?
If you answered yes to any of those questions, my friend you are in the right location because we are going to be talking all about the ins and outs of a belt sander that can be used for any specific brand of belt sander.
Ready?
What Are Belt Sanders?
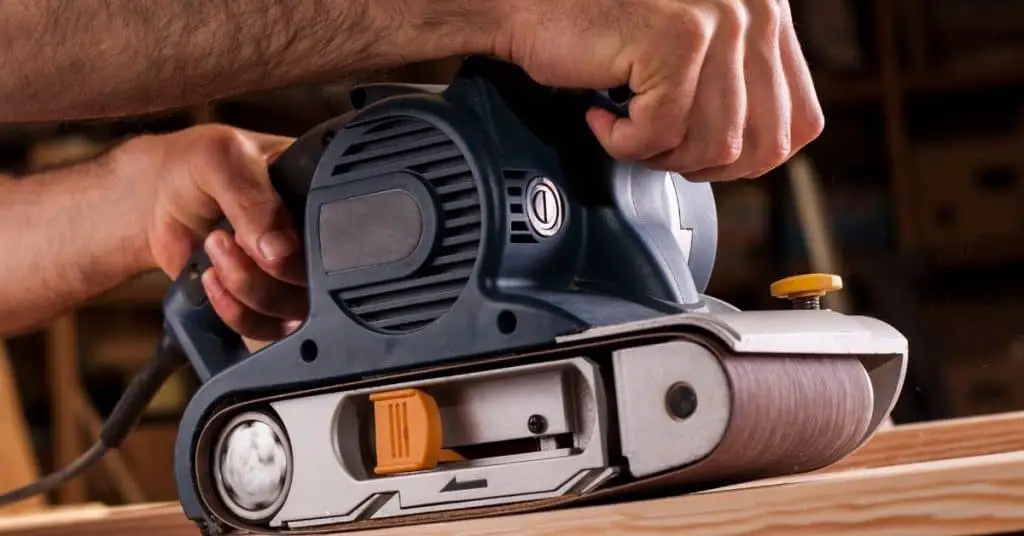
A belt sander is a power tool that is used to trim and sand down material. It is very powerful and can help smooth out any rough material.
This post may contain affiliate links. For my full disclosure please see my privacy policy.
Top 3 Editors Choice Belt Sanders
| Most Powerful | Best Value | Best Design |
|---|---|---|
1. Makita 9403 | 2. Black + Decker | 3. Craftsman  |
How To Use A Belt Sander Safely
Make sure that your sanding paper is secure before starting, wear the proper safety equipment whenever you are using a power tool. Like googles, a face mask and make sure you can attach a hose / vacuum to your belt sander to keep the dust to a minimum.
If you are sanding indoors make sure that the windows and doors are open, if you are outside make sure you have secured your material to avoid it from moving when you apply the belt sander to it.
How To Choose The Best Belt Sander
If you currently do not have a belt sander but you plan on purchasing one soon, I hope you’ll consider these 3 things when it comes to getting a quality belt sander that will last.
Variable Speed
If your belt sander has a variable speed button you are in good hands. Sometimes all you need is a light sand on certain materials.
While other times you will need your sander to do detail work and even help trim edging. For this reason having a belt sander that can change its RPM (revolutions per minute) will help you in multiple projects.
Dust Bag
Does your belt sander come with a dust bag? If so that is awesome most dust bags are pretty small but they can be removed to attach a vacuum that will keep dust and debris to a minimum helping you see the material better as you sand.
Solid Build
Not only will making sure you belt sander is made from strong material it will also hold up over the years. Meaning if you purchase it once you can use and reuse for many projects to come.
Now that you know what to look for in a belt sander, let’s talk about how to use one.
How Does A Belt Sander Work
1. Secure your sanding item to avoid it moving when sanding down
You want to either lay your item down (unless you are using a stationary belt sander) and secure it in place. You don’t want it to move when you are sanding it down. Belt sanders are powerful. Don’t clamp it either you’ll need to go back and move the clamp to sand that area down.
If that happens you may have an uneven sand.
2. Plug in your belt sander
Once your item is secured, plug in your power tool or turn it on and move to tip number 3.
3. Lay sander flat on surface of the grain
You want to make sure that you are sanding your wood going with the grain. Meaning the way the wood naturally moves is the way you want to sand it down.
This will make sure that your wood does not splinter or get damaged.
4. Don’t push sander
Let the machine do the work, what your hand is there for is to make it move in the direction you want it to go. But don’t push down as this can harm the motor and cause a short circuit with over heating or make it stop working after a few uses.
5. Keep it constantly moving
To avoid any holes, or deep grind downs keep the sanding as even by constantly moving the power tool.
PRO TIP: To avoid gauging never leave your sander sitting still while it is on.
6. Sand your item with the grain
Look at the wood you are going to sand, which way is the natural wood grain moving. You’ll want to sand it moving that direction.
The reason you’ll want to do this is to avoid damaging or splinting your wood.
What can a belt sander do?
It can be used for multiple different projects like:
- Removing paint
- Leveling your surface
- Trimming edges
- Shaping surfaces
- & of course to sand down any material
Stationary Belt Sander
Is one that does not move, this means you must bring your material to the machine to get it to sand it down. These types of machines are also known as oscillating spindle sanders and table sanders
Want to know more about those types of sanders? Go here to learn all about it.
How do you use a belt sander on a wall
The same way you would on an item you will take your power tool and place the bottom half on the wall first and then the top half, let the sander power without you pushing it but make sure you move it in the direction you want to sand.
This is great if you have uneven drywall (of course you might want to consider using a drywall sander for that job).
How do you use a belt sander on hardwood floors?
You’ll want to use similar steps above on how to use it but you will also want to do the following:
- open any windows to avoid dust build up
- remove any furniture
- sand going with the grain unless your floor boards are in bad shape
- If they’re in bad shape sand diagonally first and then with the grain
Maintenance for your power tool
- Keep it clean
- Remove dust and wood debris constantly
- Attach a hose/ vacuum if you can
- Place new sanding paper when needed
- Never leave it sitting while turned on
How to place sanding paper on belt sander
- Unplug your power tool / make sure it is off
- Find a lever on the side, and flip it
- Remove old sander paper
- Place new sand paper (it will have arrows pointing which way to place based on how your tool rotates)
- Lock the lever back into place
- Plug in and check if its working and not slipping
Tips and tricks
- Always keep it moving
- Go with the grain
- Keep it clean
- Add a vacuum bag
- Power off if you are setting it down
- Overlap your passes
- Don’t lift off the sander when moving from one area to the next
- Mark the area you are working on and when the mark is gone mark next area to know what you’ve sanded
Conclusion
Now that you know the six steps to using a belt sander I hope you are able to get all your projects done in no time. If you’ll be using a belt sander for your DIY project let us know in the comments below.

You May Also Like:
How To Use A Circular Saw For Beginners
2 Comments on How To Use A Belt Sander | Beginner Friendly