Planter box for veggies, flowers, or porch decorations | Easy Beginner DIY Project
You may be wanting to start your DIY journey with something simple. This is the perfect beginner friendly project. It requires a few tools and materials as well as no crazy mitered cuts.
This post may contain affiliate links. For my full disclosure please see my privacy policy.
How To Make A Planter Box: Overview Instructions
This is going to be a simple, plain planter box. It’s going to have no legs and just be a standard square (or rectangle if you decide to make the cuts longer).
In order to make a planter box you must first get your wood and decide how big you want your planter to be.
After deciding what size, you’ll cut your wood, make drill holes, attach the planks together and secure your box together. Pretty simple – let’s get right into it and explain each step.
Material Needed
| Material | Tools |
|---|---|
| 4 | outdoor pressure treated wood for fencing | Miter saw / circular saw |
| 1 | 1/2 X 1/2 X 60 inch square dowel | Wood Glue |
| out door wood screws 1.5 inch length | Drill gun |
| wood filler | Kreg jig |
| *clamps *wood glue |
*optional but makes it easier to put together
Cut Sizes
12 pieces 20 inches in length of the outdoor pressure treated wood
8 pieces of the square dowel | 11 inches in length each piece
I used a total of 4 out door dog ear planks for the cuts and 1 square dowels to make the planter
Making your cuts
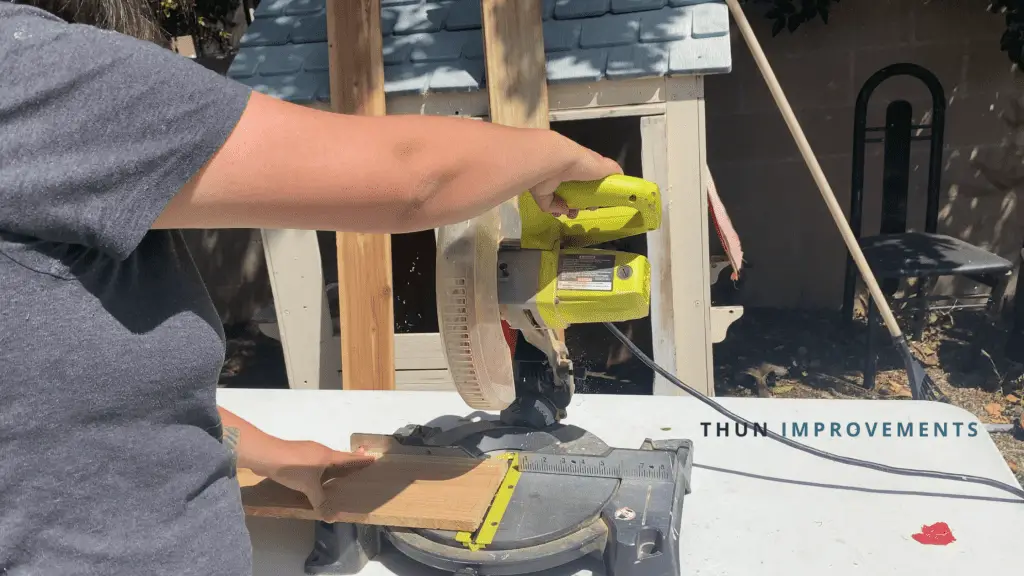
Using your miter saw or circular saw you will make straight cuts and cut your wood to size.
PRO TIP: If you are using a miter saw, you can use a clamp to add a piece of wood at the end to get the size you need each time.
You will make your cuts after your line or add 1/8 or 1/6 of an inch to your material to account for the width of the blade.
If this is your first time using a miter or circular saw – read this tutorial first and then go and make your cuts.
Making Pocket Holes
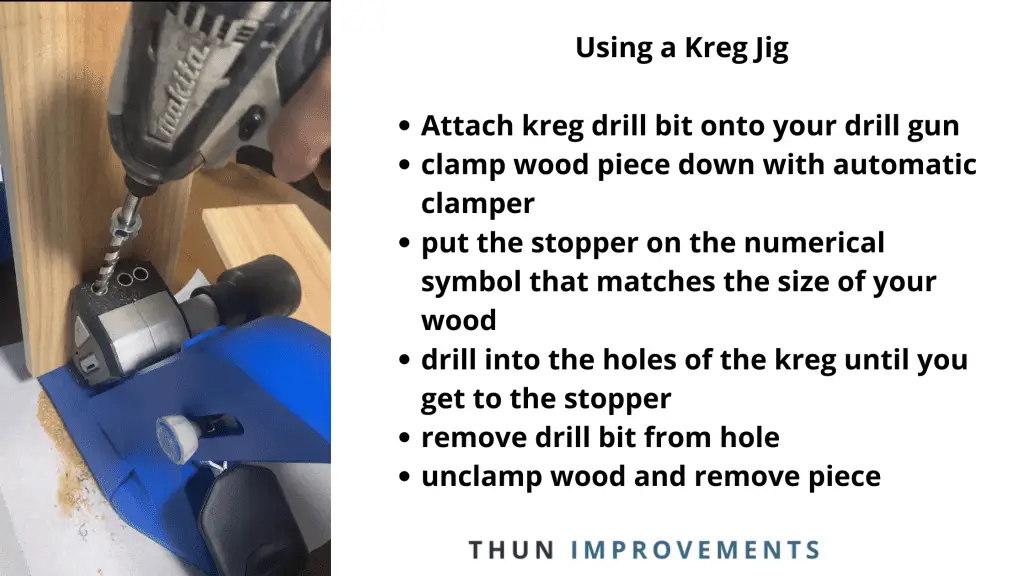
Using a kreg jig – you will place each piece of outdoor pressure treated wood inside the kreg jig and attach your drill bit piece into the drill gun or impact driver and screw it into the holes of the kreg jig.
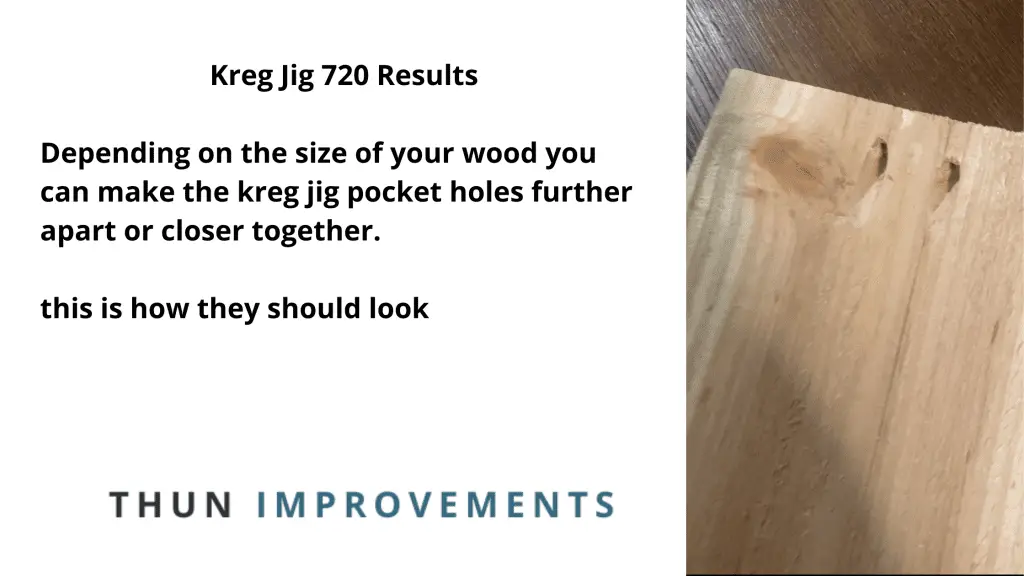
This will create holes in your wood that you will then assemble and drill your wood screws into the holes.
This is important with thin wood like the planks we are using to avoid them from cracking and breaking.
Assembling

Next you will want to lay out all the cuts in the way that you would assemble them together.
I like doing this to make sure I have all the cuts and that it looks good before starting.
Then you can grab your wood screws and make sure you have enough for each pocket hole and for the square dowels.
Assemble The Outer Parts
After getting all my wood screws, I drilled into the square dowels. I did this for two of the side pieces. Leaving the other two side pieces with no dowels. (you’ll see why at the end)
Pro Tip: Use a piece of scrap wood to act as your spacer to have even parts all around. Without having to measure again and again.
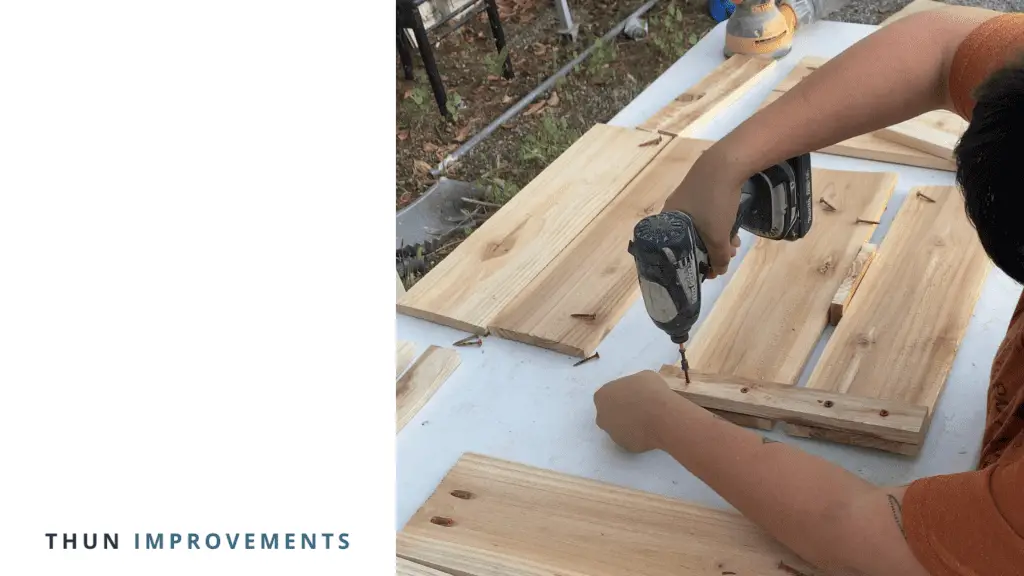
Drilling it all together
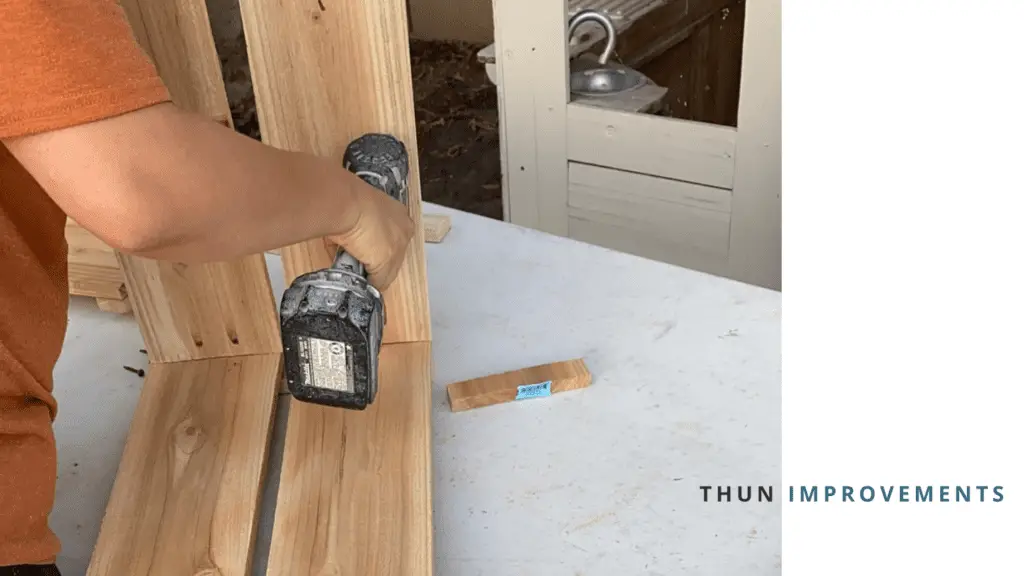
Once I had two of the sides with drilled in square dowels I went in and added wood glue to the sides that had no dowels. Then I went into the pocket holes and joined them together with my drill.

If you do not have wood glue or clamps you can ask someone to hold your piece together when you join the material.
However remember that power tools have torque meaning you will get some push back and this could cause your material to move.
In this case, I couldn’t find my clamps – I ended up ordering these from amazon.
The Bottom Of The Planter

Now you want to get the last 4 pieces that you had cut and place them on the bottom. You can go ahead and add wood glue and clamp them down and wait for it to dry.
Once it is dry you will go ahead and drill two wood screws into each piece. If you want more stability I suggest using a nail gun and adding 3 nails to each side (top and bottom)
This is what I ended up doing. But if you don’t have a nail gun – drilling the wood screws will work just fine.
Make sure you predrill with a drill hole before adding your screws to avoid your wood splitting.
You wouldn’t want it to split at the very end of the project.
The Final Look Planter Box
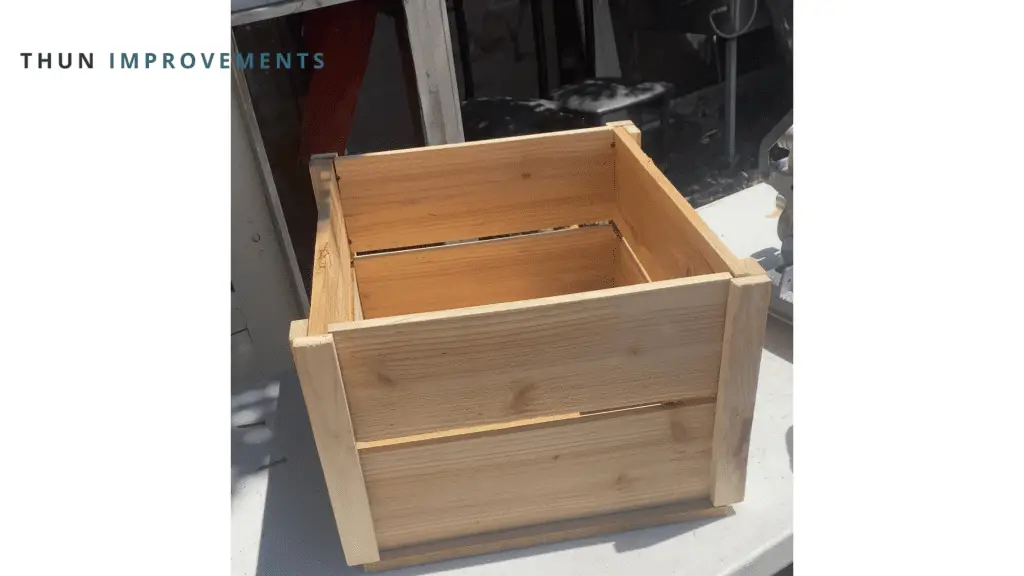
This is the finished look of the super basic and simple beginner friendly planter box.
I left a one inch gap between the sides because I am adding a liner to the planter box and a water hole was drilled to the inside of the bottom. If you will not add a liner you can avoid the spacer and cut an inch off your dowel to get accurate no spacer cuts.
Want to share this beginner friendly wood working project with friends? Use the image below to share on your socials.
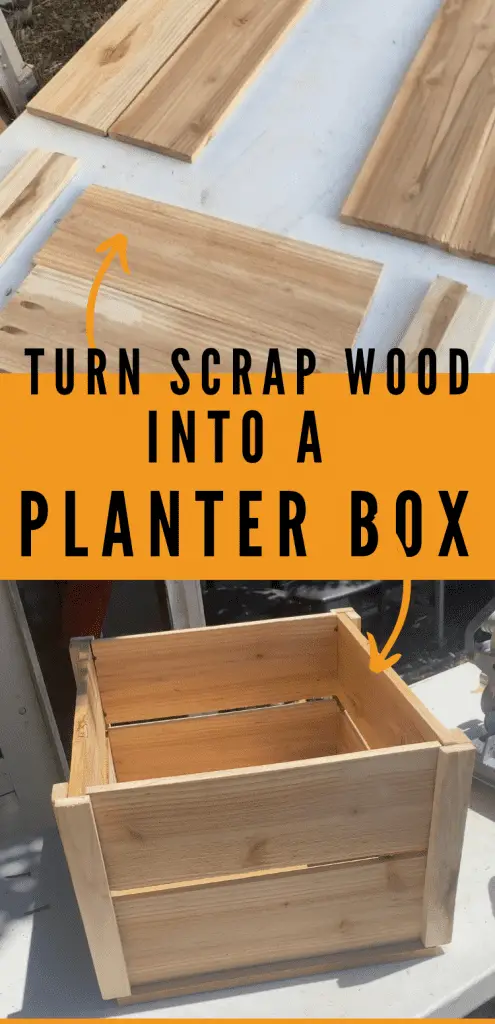
How To Make A Planter Box
You may also like:
Prime Day 2022 The Best Home & DIY Deals
How to use a circular saw
